Mastering the art of seed germination is possibly the greatest skill to possess.
Plants are living, and their germination encourages continuous reproduction. Plants help us in many ways, so it’s important for us to take good care of them as well.
Some plant species have the uncanny ability to self-germinate, whilst others need our helping hand. Understanding the best ways to germinate seeds for hydroponics has its advantages.
It’s cleaner than using soil, it can often be much faster, and the transplanting phase is a lot easier.
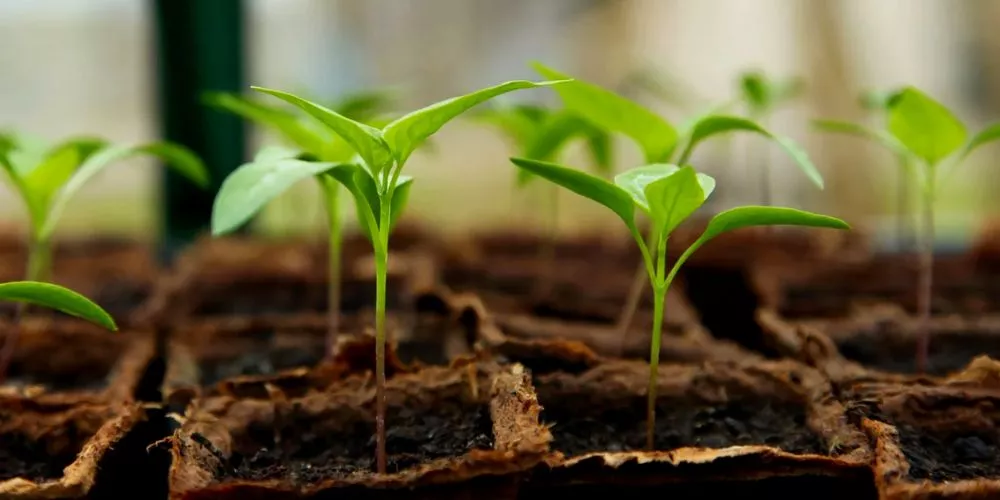
If this procedure is not done correctly, the consequences can be damaging your whole crop. As a result, all that money, time and effort would be considered a waste of time.
In much more detail, let’s look at some of the best ways to germinate seeds for hydroponics.
Table of Contents
Best Ways To Germinate Seeds For Hydroponics
Growing seeds into seedlings (also known as ‘germinating’) is one of the most important steps to successfully growing and nurturing a plant.
There are multiple methods, growing mediums and variations that you can use during this process.
Some more common germinating mediums include Rockwool, certain soil types which are light, loose and fluffy, or even plain old paper towels.
They all work just as well as each other. It’s more about convenience, speed, mess or lack thereof and, personal preference. In this article, we’ll focus specifically on the following mediums and their corresponding methods:
- Rockwool
- Soil
- Paper Towel
- Jigsaw Foam
- Sand
Germinating Seeds for Hydroponics Using Rockwool
Seed germination needs a warm and moist environment to be effective. Rockwool is one of, if not the best, germination mediums as they retain heat and moisture without becoming too soggy. The only downside of using Rockwool is its price tag.
It’s not obscenely expensive but more costly than basic materials such as paper towels and jigsaw foam. The beauty of Rockwool, though, is its versatility. You can purchase large slabs and cut them to your desired size or shape.
Look at the materials required to germinate seeds for hydroponics using Rockwool. Then we will go through the exact process needed for successful germination.
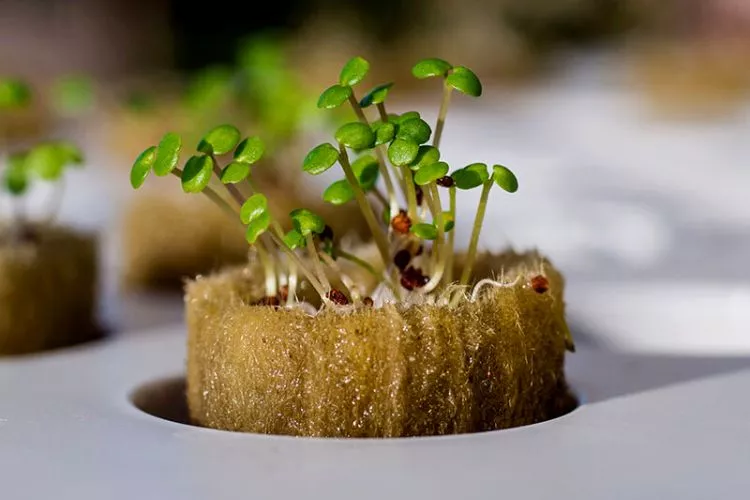
What you will need?
- Rockwool – As mentioned, you can purchase larger blocks and cut them down to the size and shape you need. You can also use planting plugs if preferred. (They are just pre-cut and sized variants)
- Water and/or nutrient solution – A jug of clean, distilled water and a soft misting spray bottle are ideal. Additionally, it’s worth noting that seeds will germinate just fine with water only. Using nutrients is a good habit as the plants will need more food as they continue to grow.
- A heat source – This can be either a heat mat or somewhere in the area that provides base heat without being extremely hot. A warm window sill, the top of a fridge or the cupboard above an oven are great alternatives. If no warmth is obtainable, it’s best to get a grower’s lamp that can supply heat and light.
- Super Sprouter for growing tray – This is another matter of personal choice. We prefer super sprouters as they have everything built in. It is, however, possible to use a standard flat deck tray.
- Scissors.
- Seeds.
- Labels or markers (not essential) – Labeling the type of plant and the start germination date can help if you plan on stagnating the days. It depends on how organized you want to be or how extensive your process is.
The Process
- Planning – The first phase is a bit of a planning step. Some systems require more space as they grow the seedlings further through each stage of their cycles. For example, tomatoes and peppers need extra room to grow. Decide on how many of each plant you wish to grow. Take out that amount of seeds to continue.
- Cut the rockwool – Cut off the required amount of rockwool or grow plugs. Aim to cut around 10-15% extra to allow for seeds that don’t germinate. It’s almost impossible to have a 100% germination rate. So it’s good practice to be prepared. A good tip is to cut the Rockwool into square sections. This will help with stability. Individual plugs/pieces are a lot harder to stand up and balance.
- Make/clear the holes – The next step is to make holes in the Rockwool. Mark out evenly spaced holes with a ruler and a nail or screw. You can use a chopstick, the back of a pencil or something of that nature to poke the holes around ½-1 inch deep. If you are using plugs, then the holes will already be there. It’s just taking a poking tool and ensuring that each hole is clean and unobstructed.
- Soak the rockwool – Next, lay the rockwool on a growing tray and use the jug to pour water over and soak the rockwool from the top down.
- Plant the seeds – Put 2-3 seeds in each hole. It’s always best to hedge your bets. Generally, at least 1 of the 3 will germinate.
- Set up the growing station – Regardless Of using the super sprouter or a flat top tray, carefully place the seeded Rockwool in its position. Add a label to each plant to identify it as it grows. Soak the base of the tray with more water. Add the lid or type of covering and close the vents to assist germination.
- Set up a humidity source – Add the supplied light or a light of your own. This will provide heat to the growing system, which produces the humidity required for germination. Depending on your setup, you can have the light on 24hrs per day or 12 hrs on, 12 hrs off. You can also use a timer if you like. Just aim to keep the Rockwool warm and moist.
- Transplant – The germination process should take 1-2 weeks from planting if optimal conditions are used.
Germinating Seeds for Hydroponics Without Rockwool (Alternatives)
Rockwool ticks all the right boxes when it comes to germination. But sometimes, it isn’t readily available. If this is the case, there are some other options which work just as good but have slightly different processes to follow.
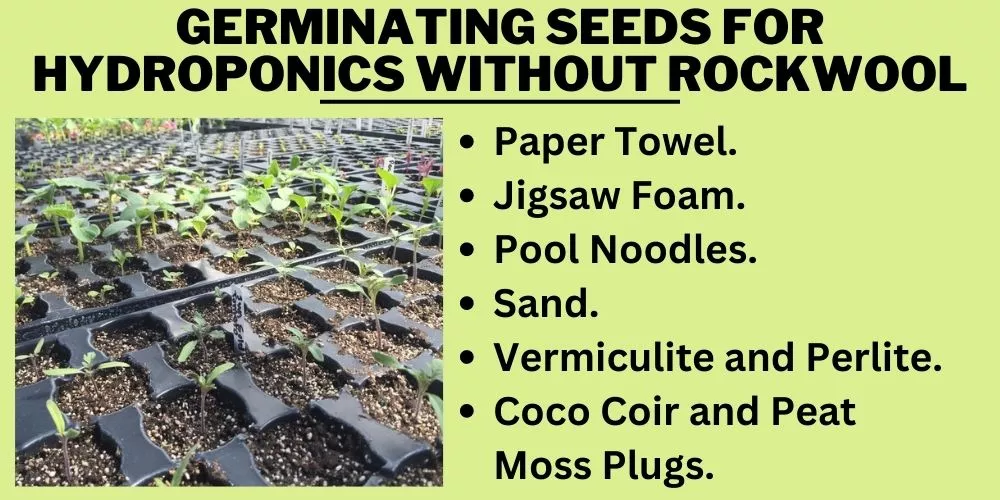
You shouldn’t have any problems if the medium and method used can attribute adequate temperature, moisture, air, and light conditions. These include:
Paper Towel
Paper towel is not only cheap but simple to control. It’s also extremely clean, making it easy to see exactly what the seed(lings) are up to regarding their growth stage. You can also use coffee filters in the same way.
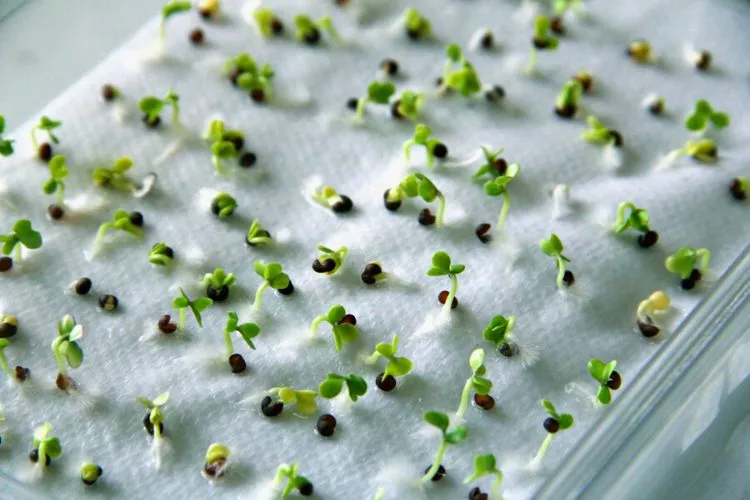
Method
- Fold a couple of sheets of paper towel in half.
- Moisten one of the sides with a spray bottle
- Place 3-5 seeds on the moist side of the paper towel and fold the dry side over, closing them in like an envelope.
- Carefully put the paper with the seeds inside a zip lock bag and seal it closed.
- Leave the ziplocked seeds on a window sill to allow the process to germinate the seeds. The humidity in the bag will act like a greenhouse. You should start to see sprouts popping out after around 5-7 days.
Jigsaw Foam
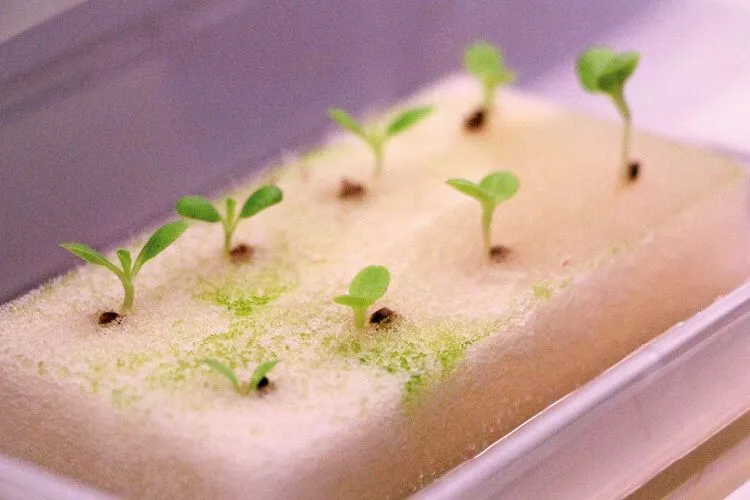
Jigsaw foam is that interlocking spongy mat material found on the floor of gyms, indoor play centers and some pre-schools. This material is really good for germinating as it is extremely stable.
Method
- Cut out small, seed-sized notches from the surface, careful not to pierce the underside. Be extremely close without going through.
- Place the seeds into the holes.
- Water the seeds.
- Cover with glad wrap.
- Allow sitting in a sunny area for 5-7 days.
Alternatively, you can leave the mat as a base and stand other materials upright on top of it to act as a sponge to collect and retain water.
Pool Noodles
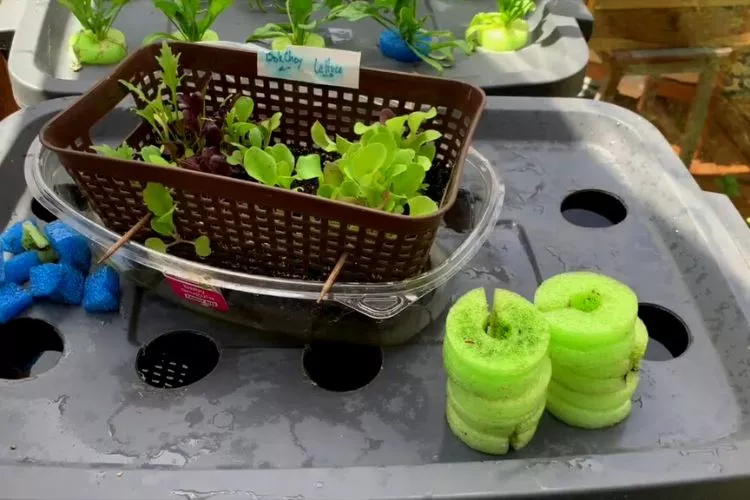
Pool noodles are another creative idea.
**(Both jigsaw foam and pool noodles are manufactured using ethylene-vinyl acetate. This material is non-toxic, so it is great to use with organic matter.)**
Method
- Cut the longer noodle into smaller round sections and use the hole in the center as a germination pod. These can then be upright with the open hole facing up and planted.
- Make sure there is something underneath as a base to prevent water from draining away.
- Place 3-4 seeds in each section.
- Water vigorously.
- Cover with glad wrap to encourage humidity.
- Allow to sit in a well-lit location and wait 5-7 days for seedlings to develop stems, roots and leaves.
Sand
Sand can be used, but it’s best as a backup plan. As the seeds germinate, they need slightly more energy to push their stems up through the sand.
Sand is a little denser than soil, making it more difficult for them to grow. That’s not to say that you shouldn’t use and at all, though.
Vermiculite and Perlite
These 2 materials are a form of lightweight volcanic rock. Vermiculite is known for its water-retention properties. Perlite adds appropriate aeration. When these 2 are mixed, they are an extremely effective combination.
This duo is probably one of the best blends to use for germination behind rockwool.
It’s best to use them in smaller pots so the materials can form around the seedlings. Add the seedlings and moisten them. Cover in glad wrap and sit in a well lit spot to fully germinate. This should take anywhere between 5-7 days.
Coco Coir and Peat Moss Plugs
Coco coir and peat moss plugs work similarly to rockwool. You soak them down, so they expand, add the seed, and then cover them up with some of their respective material.
Dos and Don’ts of Germinating Seeds for Hydroponics
When it comes to germinating seeds, they require a handful of conditions for the process to be successful.
The most important factors include water retention, optimal base and air temperatures, and light and aeration. Making sure these conditions are met is crucial to the whole process.
- Water Retention – Choosing the correct growing medium will ensure the seeds are constantly wet. The materials must be checked through the germination process to ensure they don’t dry out.
- Temperature – The optimal seed germination temperature is between 70-90°F (21-32 ° C). The best practice is to ensure the germination tray is sitting on either a mat or another heat source. It is ideal to leave them on top of a fridge, on a shelf above an oven or on a window sill.
- Light – Light acts as a trigger to sprouting seeds. Some simply won’t pop until they receive some rays of the sun. Some need the light to break out of their seed casings. There are, however, some species that can germinate in complete darkness. With that said, most prefer light.
- Aeration – Adequate aeration can be achieved via the correct choice of growing medium. Ensuring the roots can take in oxygen and gain strength is required for an overall healthy plant. The oxygen helps them produce the energy required to continue to grow.
Aside from the things that should be done, there are also a few common mistakes that should be avoided. These include:
- Planting too deep – When a seed is planted in this manor, it is forced to use too much energy to push itself out of the growing medium. This can sometimes make the seed run out of energy before it reaches the top and die. You don’t need to plant deeper than a fingernail.
- Aged seeds – Different seeds from different plants surprisingly have longer or shorter life spans which are worth researching. Ideally, you should only purchase the seeds you aim to use in the following growing season. Unless, of course, you know which seeds last longer and have been stored for optimal longevity.
- Lack of soil Moisture – As mentioned earlier, moisture is key to the survival of the germinating seeds. The growing medium and its seeds must be constantly moist. There isn’t too much more that can be said about the matter.
- Jumping the gun – Sometimes, 5-7 days will pass, and the anxiety of the unknowing can creep in. Never fear; some seeds take longer than others. You can sometimes wait upto 3 weeks until seeds start to germinate.
Tips for Transplanting for Hydroponics
Here are some quick tips to ensure that transplanting your seedlings into larger growing containers is as smooth as possible.
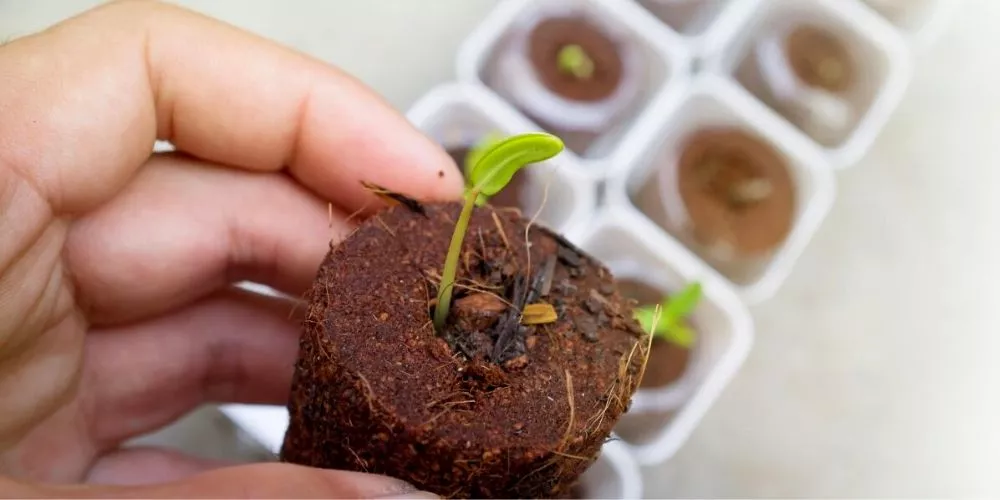
- Reduce Water – Reduce the amount of water given a week before transplanting. This will help strengthen the root system for its new home. It will need all the strength to help it search for food and water whilst navigating new soil.
- Choose the Right Size Pot – Making sure your newly transplanted seedling has room to move and grow is vital for its overall health and strength. Having them in pots makes them easier to maneuver, regardless of their final growing position. This can be within a hydroponic system or even into the ground.
- Harden Your Plants – Place them in a bright, sunny room once transplanted. Ensure they receive enough water during this time, and if any begin to droop or wilt, it’s a good idea to move them out of the direct light. The next step is to move them outside for the warmest periods of the day (between noon and 1-2 pm) and bring them in once it gets dark, leaving them inside overnight.
- Give them an extra 1-2 hours per day outdoors to continue the hardening process. After this time, they can be left outdoors permanently, as long as the temperatures don’t dip below 50°F (10°C). They should now be strong enough to be planted.
Frequently Asked Questions (fAQs)
How long does it take for seeds to germinate in a hydroponic system?
Providing all conditions are optimal, the germination process should take 3-5 days.
What is the most popular medium for germinating seeds hydroponically?
The most popular germination medium is rockwool. It’s cheap and readily available and has the supreme ability to retain heat and moisture. Rockwool also comes in handy blocks or plugs, making them highly versatile.
Can regular seeds be used for hydroponics?
Yes, any seed can be grown using hydroponics as a method of growth.
What is the best growing medium for hydroponics?
Rockwool is hands down the best growing medium for hydroponics. It’s cheap, versatile and easy to get a hold of. It also has great heat-water retention capabilities.
Conclusion
Germinating seeds is not hard to accomplish. As long as you obtain and maintain the right conditions, you will quickly become comfortable with the process.
Choosing a good quality growing medium such as Rockwool will make the process much smoother.
We hope that this article has been able to answer any questions you may have had regarding the germination process.
We look forward to creating more content of this quality as the demand continues to rise. As always, happy growing!


