Kale is a green, leafy, extremely nutritious cruciferous vegetable. It contains vitamins A, K, B6 and C, calcium, potassium, copper and manganese. For the health conscious, a cup of raw kale only has 33 calories, including just 7 grams of carbohydrates.
No wonder it has been added to a range of salads, soups and veggie-style meals over the last few years. Kale is a reasonably easy vegetable to both grow and harvest. Knowing the right time and understanding the process of how to harvest kale without killing the plant is still important.
The trick is deciding whether you want the baby greens or those that are more mature. One of the most beneficial tips is to start harvesting from the outside leaves first.
This will ensure regeneration occurs. Let’s look at how to harvest kale without killing, shall we?
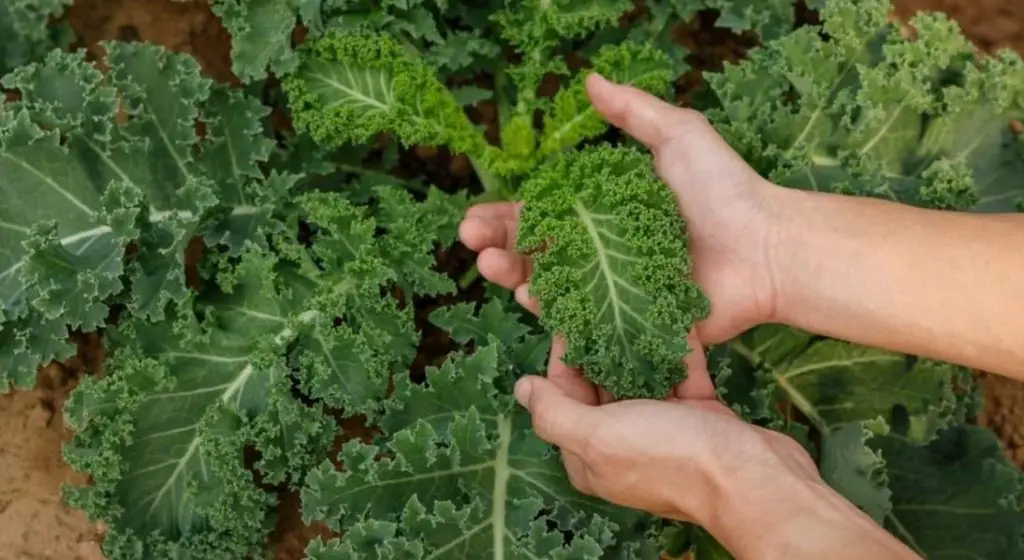
Table of Contents
How do you know when Kale is ready to harvest?
A kale plant can grow to a pretty decent size. The leaves can be picked when they are around the size of an adult hand. The bigger, the better. You only really want to remove a fistful or so at a time. Any more than a third of the plant at one time and the kale will struggle to regenerate as efficiently.
Try to keep the terminal bud safe at all times, as this is what controls the overall productivity of the plant. It’s located at the top of the plant, right in the middle. It’s almost like a crown.
What are the Perfect Growing Conditions for Kale?
Like all plants, kale needs specific growing conditions to be met to allow it to grow to its full potential. If these requirements can be optimized, you can be sure to receive an abundant harvest in return. Let’s look at what these conditions entail and how to perfect them.
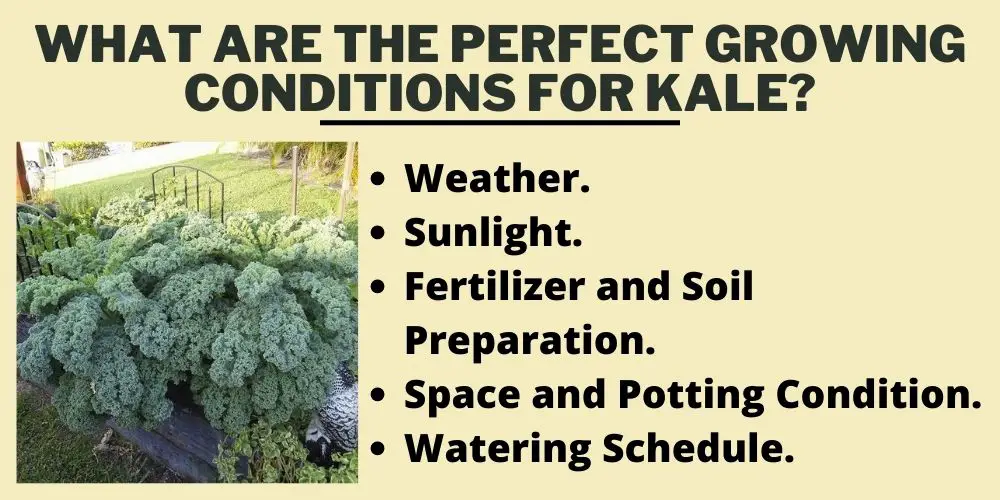
Weather
Kale prefers cooler growing temperatures but cannot survive in long-lasting extreme chills or snow unless grown in a protective structure like an insulated greenhouse. The perfect temperature for kale growth is between 60-70°F (15-21°C). They can grow to as low as 20°F (-7°C).
It starts producing in abundance from early spring to early summer and will fully mature into fall/autumn. Too much heat will cause the leaves to become tough and bitter. Overnight frosts will sweeten the kale by converting starches into sugars as a defence mechanism against the cold.
You can usually just leave kale alone during the winter, especially if you are somewhere that receives extreme colds. The frost won’t allow anything to be done to the plant anyway.
Sunlight
Kale produces its best yield when grown in full sun. It can also tolerate partial shade if no other option is available. A kale plant requires a minimum of 6 hours of direct sunlight to allow the photosynthesis process to have an effect. Any less than 6 hours will reduce the size dramatically.
They will still be edible but on a less appetizing scale.
Fertilizer and Soil Preparation
Kale thrives best in loamy, well-draining soil high in organic matter. It requires soil with a pH of between 6.0 and 7.5. It’s always best to test your soil before adding any fertilizer. You may find that it already has everything that the kale needs.
Otherwise, you can purchase an organic high nitrogen fertilizer with a balanced NPK ratio of around 5-4-5 or 8-4-8. Kale loves being fed; it’s important to apply fertilizer after the 2nd set of true leaves appears when growing from seedlings.
Doing so will boost their production for full mature growth. Then continue fertilizing every 2 weeks with a liquid-based fertilizer until the time comes to begin their harvest.
Space and Potting Condition
Kale can become quite bushy, so extra space between each plant must be considered when planting. A decent layout would look something like this: 12–18″ (30-45cm) apart, with each row 18–36″ (45-91cm) apart. This will allow full bush and ease of harvest.
If you don’t have the space, kale can grow just as well in pots or containers. It would need at least a 12-inch diameter growing space in a 3-5 gallon pot to allow the leaves to spread out.
Watering Schedule
If you are starting your kale from seedlings, allow them to reach 2-3 inches after germinating before planting. As soon as they are planted, they will need to be watered daily until the root system has established itself. Once they have established themselves, you can reduce the watering frequency weekly.
Kale thrives in soil that is moist but never flooded. 1-2 inches per week will allow the roots to soak it up and utilize it to produce big strong leaves. Always check the soil conditions to ensure you are not letting them go bone dry or even flooding them out.
The best times to apply water are early mornings and late afternoons, when less sun is present, which could cause hindrance by evaporating the moisture.
How to Harvest Kale Without Killing the Plant? (Tips and Tricks)
The most important thing to think about when harvesting kale is to try to remove only the leaves that you need at the time. In doing so, you will be giving the plant every chance to regenerate to full capacity. Additionally, it will minimize the likelihood of damaging it.
Kale leaves can grow to a pretty decent size. The best time to start picking them is when they are around the size of an adult hand (The length of the palm).
If you see long periods of warmer weather heading our way, it’s a good idea to pick the leaves as they can burn. In contrast, it’s ok to leave them to grow anywhere above 20°F (-7°C); they can become sweeter after a few chills.
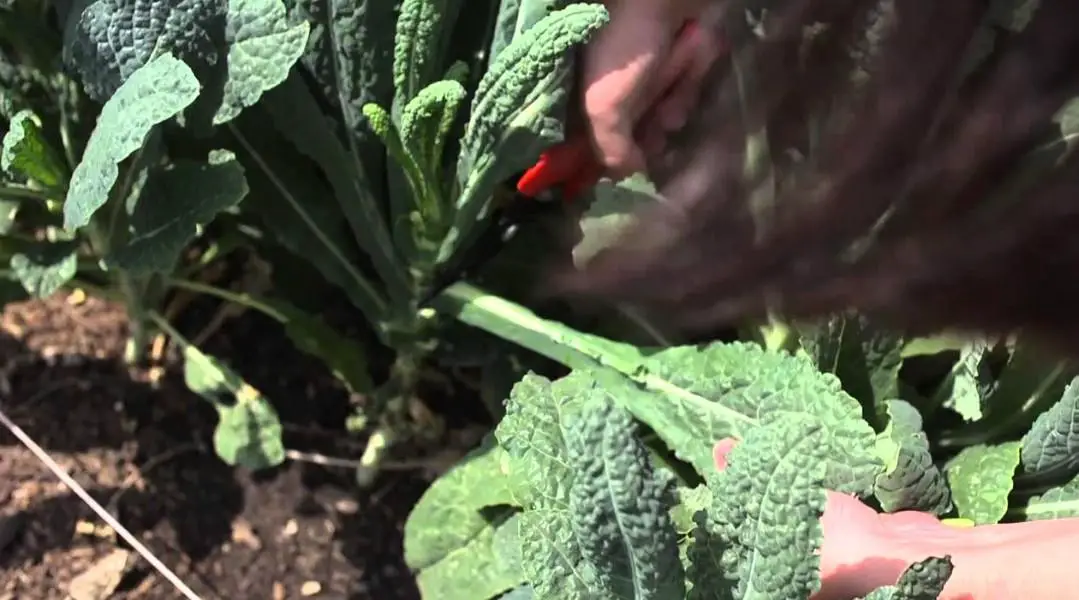
When it comes to harvest kale without killing the plant, the best way to ensure that it continues to thrive is by following a few simple guidelines:
- Carefully cut the outer, older leaves first. Cut them as close as you can to the stem without damaging the stem in the process. You can pull them off without cutting, but I find that cutting them clean allows the plant to regenerate faster and saves any issues via damage.
- When harvesting, the most important thing to remember is to leave the central bud intact. It’s located on the top, the central part of the kale plant. Protect it well and try not to touch it. This is like the central brain that controls reproduction. If that is damaged, the plant won’t be able to grow any more leaves and eventually die. All new leaves grow from this point and slowly move their way down the stem. As you cut the outer leaves, the plant grows up, and the inner leaves become the outer leaves.
It was mentioned to pick the leaves at the size of an adult hand as any larger; they will become tougher and bitter and are only good for cooking. If you want to use them fresh in salads, for example, they are better when they are slightly smaller where they are tender and sweet.
It’s also worth noting that potted kale usually won’t produce as much as those grown in the garden. That is, of course, unless you grow them in really big pots. This means that if you want a larger harvest, it’s probably ideal to have 5-6 potted kale and alternate harvesting them so you give them the chance to regenerate.
So start with one plant until it has around ⅓ of the leaves remaining, then move on to the next plant, doing the same thing and so on. It’s pretty easy to go through a heap of kale if you cook with them, as they generally wilt and shrink as they heat up.
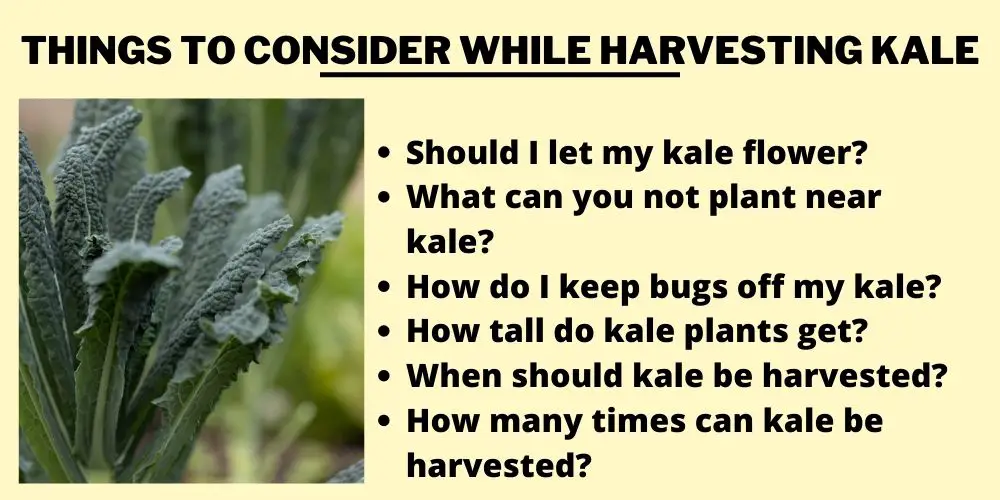
Things To Consider While Harvesting Kale
Besides the actual harvesting process itself, there are a few essential things to consider around the time of harvest to ensure that the yield can be maximized. Let’s have a look at these in more detail.
Should I let my kale flower?
When kale flowers after its first season, the flowers can be eaten, much like broccoli florets. They are pretty tasty, also! Kale is biennial, meaning it grows for 2 seasons. In its first season, it will grow edible leafy greens. So if you are growing to eat, this is the harvest season.
In its second season, kale will flower and seed. This season is only really used if you want to stockpile seeds to grow more kale. It’s worth noting that any leaves that form in the second season aren’t good for eating.
What can you not plant near kale?
The biggest thing to consider when deciding where to plant your kale is the pests they can attract. This means you don’t want to plant your kale with other plants of the same type. The attack pests will feast on everything of the same type in the vicinity.
Broccoli, kohlrabi, cauliflower, brussels sprouts, and Swiss chard are all the same, so they should not be planted close to kale. Additionally, kale likes its soil pH to be between 6-7.5. So if another plant requires a much higher or lower pH, it may not survive. Different plants need different soil pHs to thrive.
How do I keep bugs off my kale?
We recommend mixing a solution of a couple of drops of nontoxic dishwashing detergent with water. Add these into a spray bottle and spray the leaves. Coating the leaves with this soapy, bitter blend will ward off most bugs. It can even choke out any that may have already entrenched themselves in the kale.
How tall do kale plants get?
Mature kale can grow upto 1-2 feet in height. They can also bush out to around 1-2 in width.
When should kale be harvested?
It depends on what you plan on doing with your kale. If you want the fresh kale for the likes of salads, they should be picked a week before full maturity. They will be sweeter and more tender at this stage.
Otherwise, if you plan on cooking the kale, the best time to harvest is when it’s around the length of the palm of an adult hand.
How many times can kale be harvested?
There isn’t a limit to the number of times you can harvest your kale. Just remember to always remove the leaves from the outside and protect the central bud, which controls the production of new leaves. If this is damaged, no more will grow.
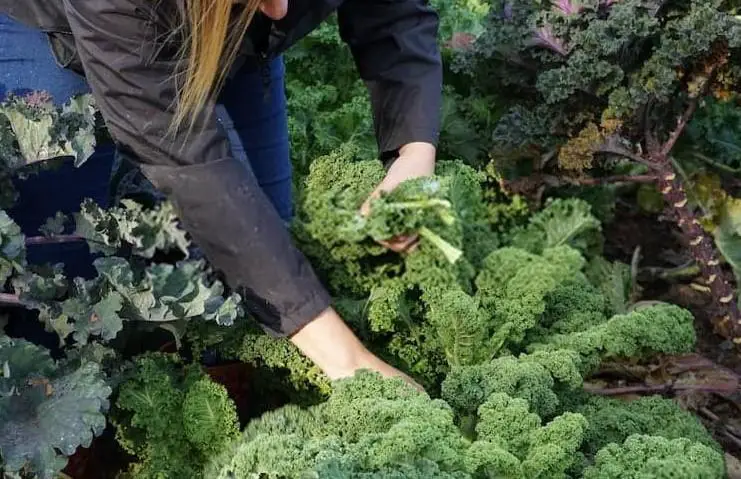
As long as you follow the guidelines above, you can pick leaves as often as every 2 or so weeks for their first growth year, providing you don’t remove too many in one harvest. The second year does not produce leaves, just flowers and seeds.
How do you dry, store and use Kale?
Drying, storing and using kale is simple as the leaves aren’t as small or intricate as other plants or herbs. You probably want to prepare it first before drying. Cleaning and trimming are essential to ease the drying process.
Prepping (Cleaning & Trimming)
Cleaning the kale doesn’t require anything out of the ordinary. Simply put your leaves in a sink or large bowl and soak them in cold water. This will loosen up any dirt or other remnants. Remove them from the water and give them a good rinse.
Try to rub any extra matter from the leaves, leaving them clean. This is not so difficult; kale leaves are pretty tough and can take some pushing and prodding.
To trim kale, lay them on a bench/chopping board and take out some sharp scissors or a knife, depending on what you’re used to.
All that is required is to remove the central stem and any other chunky pieces so that you are just left with the leafy parts. You can eat the stems, but they can get a bit chewy if preparing them raw.
Drying
There are 2 extremely effective methods which you can use to dry kale. You can either use a food dehydrator or an oven. They both work well, so it’s more a matter of using what you have. Dried kale lasts up to a year when stored in an airtight container.
Food Dehydrator
Layer the kale leaves without overlapping them in the dehydrator trays. Set the power/temperature to medium and let them bake until they become crisp and crumbly. It usually takes around 6-8 hours.
Oven
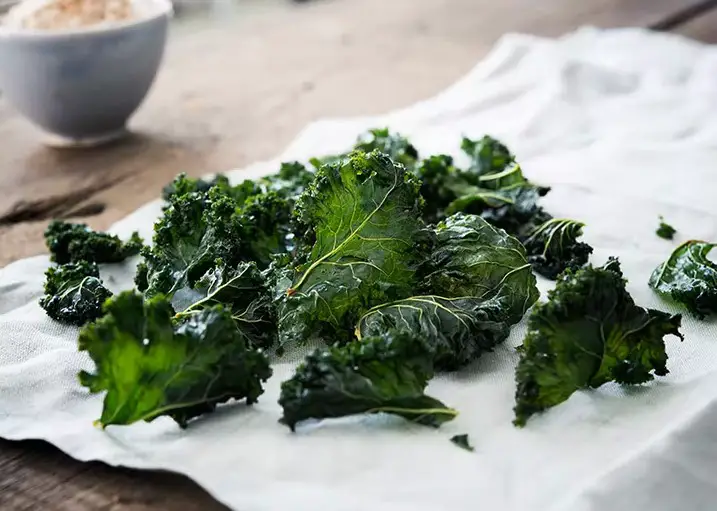
Preheating the oven to a lower setting, 200°F (95°C), is ideal. Get out a couple of oven trays and spread some baking paper. Layer the kale leaves evenly on the baking paper, ensuring they don’t overlap or they won’t bake evenly. Bake for 20-30 mins, checking every 5 minutes to ensure they don’t burn. You want them to be slightly green to brownish and crumbly to touch.
Storing
Fridge
Kale can be stored in the fridge as whole leaves or prepared without the stems. It’s more personal preference how you like to consume it. The easiest way to store kale in the fridge is to ensure it’s dry. Then grab a bunch and wrap it inside some paper towel to keep the moisture from building up.
Add the wrapped leaves into an airtight, ziplock bag and store it in the fridge. The leaves should last upto a week using this method.
Freezer
Freezing kale takes a tiny bit more extra effort. It’s best to blanch the leaves first to keep all the important nutrients. After blanching, dry them thoroughly in a salad spinner or by padding them with a paper towel. Then add them into a ziplock freezer bag and store them in the freezer. They will stay fresh there for up to 8 months without any problems.
Using
Using kale is up to you. When you dry the leaves, you can add them to an airtight container and use them as a garnish or tasty snack. I dry mine in the oven with olive oil and salt. Yum! They can also be used in salads and juices.
Frequently Asked Questions (fAQs)
How do you pick kale, so it keeps growing?
Always harvest the outer leaves of the kale and never remove the bud in the middle. This controls the production of new leaves. Make sure that you always protect that bud. Try to cut each leaf as close to the main stem as possible.
How long does a kale plant last?
Kale is a biennial plant meaning it lasts 2 years. It only produces edible leaves in the first year, though. In its second year, it produces flowers and seeds. So technically, you can only really harvest kale as an edible plant for 1 year. If harvested correctly, though, you can almost harvest it endlessly for that year.
What do you do with kale after flowering?
It is possible to eat the flowers, a little similar to you would with broccoli florets. Otherwise, the kale plant will flower and seed in its second year, and there isn’t much you can do with the plant besides harvest its seed to replant new kale in the next season.
Conclusion:
Kale is an amazing vegetable as far as nutrition and ease of growth are concerned. There are only 2 things that need to be remembered while learning how to harvest kale without killing the plant.
Always harvest the outer leaves and never remove the central bud. It’s as simple as that! We hope that this article has been helpful. Happy harvesting!


