When it comes to fertilization for soil conditioning, the beautiful, tropical Hibiscus thrives best in a potting or soil mix that is slightly acidic.
But, do hibiscus like coffee grounds?
Honestly speaking, using materials such as coffee grounds can help improve the pH levels naturally. However, there are many other alternatives, such as sulfur and compost (leaf mold, pine needles, wood ash, cottonseed).
You can also use other easily obtainable household items, such as vinegar and lemon. Ultimately though, coffee beans are great for a quick adjustment.
Not to mention, they are a free byproduct. Sure, they are not considered the best possible material, but they are also not the worst.
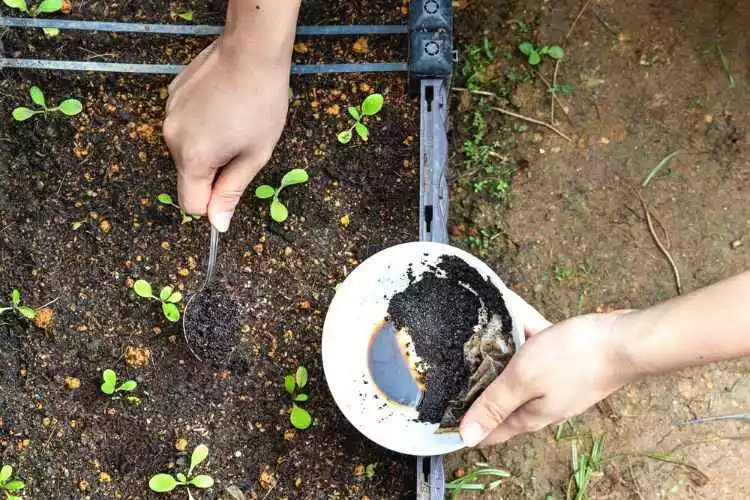
It’s worth noting that coffee beans should only be used as a complementary fertilizer. The aim of this article, though, is to ascertain whether or not the humble hibiscus can benefit from using coffee grounds. Let’s dive in, shall we?
Table of Contents
Do hibiscus like coffee grounds?
The short answer is yes, hibiscus plants like coffee grounds, but there’s a little catch. You must use it in moderation, otherwise it will do more bad than good.
One of the key components to growing any plant successfully is the soil characteristics or type and the pH levels it contains. The hibiscus is no different; it’s no secret that this is an acid loving species.
These plants thrive best in soils with a pH of between 6.5 and 6.8. Coffee grounds can help to acidify the growing medium that may be too high up the pH scale.
It can also help to improve drainage. Additionally, Hibiscus needs copious amounts of potassium to help with its photosynthesis. They also require nitrogen but potassium is their biggest need.
Coffee grounds provide a serviceable amount of nitrogen, phosphorus, and potassium. This form of coffee shouldn’t be relied upon as a one stop fertilizer for hibiscus plants. It can surely help but only in small amounts and at a slow pace.
What is the best fertilizer for my hibiscus?
As beneficial as coffee grounds can be, there are a handful of other natural fertilizers you can use instead. Some require a little more prep work, while others can be sprinkled in sporadically.
It depends on personal preference when time, energy, and money are involved. Hibiscus plants prefer fertilizers that are high in potassium, contain medium amounts of nitrogen, and have low phosphorus levels.
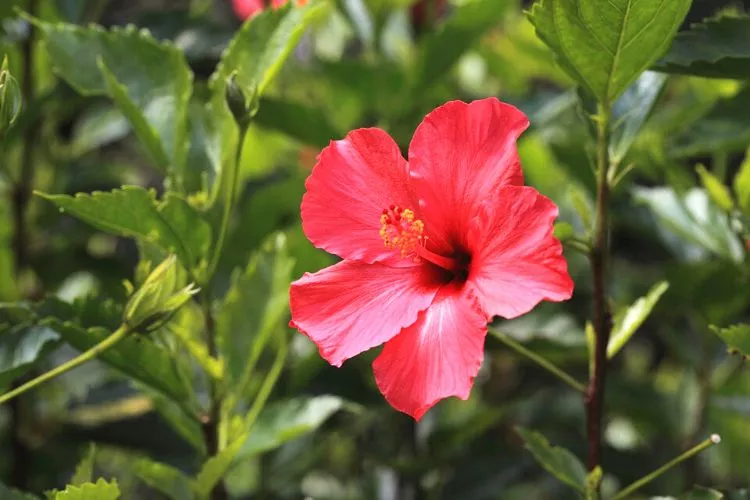
So, an optimal ratio would look something like this: NPK 10-5-20 (Nitrogen N, Phosphorus P, and Potassium K.) Obtaining these ratios is like reading a book when purchasing store bought, chemical type fertilizers. When it comes to natural solutions, you just need to replicate these needs as best you can.
Let’s have a detailed look at other serviceable but trustworthy homemade or natural fertilizers you can use on your hibiscus plants. Additionally, we’ll add their recipes and methods of use.
Banana Peels
Bananas and their peels have extremely beneficial amounts of potassium.
They also contain some serviceable amounts of nitrogen to help boost their ranking as a great quality natural fertilizer.
The skins of bananas can be utilized in a couple of different ways.
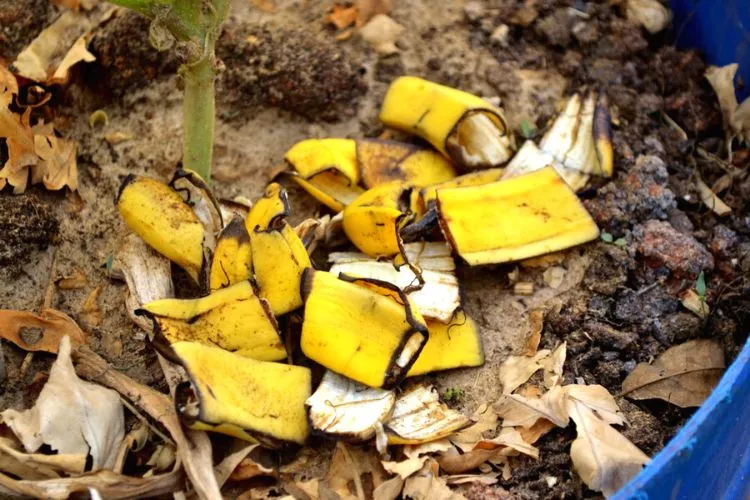
Firstly, they can either be used whole or chopped up and blended into the soil under the dripline of a growing hibiscus.
The drip line is essentially the line that is formed around the outer edges by water dripping from the plant. The water drips down onto the organic matter under the soil and slowly releases the nutrients.
Additionally, banana peels can be added to compost bins, and the rotting mix can be used as a supplementary mulch with all its added nutrients.
Wood Ash
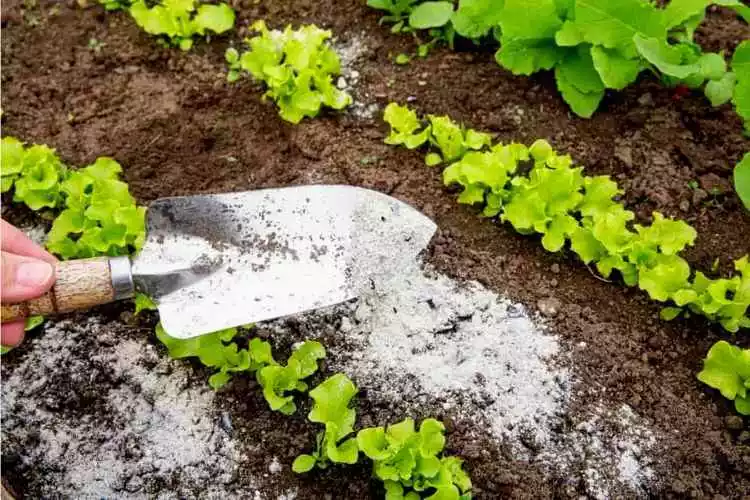
Wood Ash is naturally rich in potassium. It can simply be sprinkled around the base of a growing hibiscus.
Alternatively, it can be blended into the soil when planting for a longer lasting, slow release fertilizer. It can be collected after a fire is burnt out, cooled down, and mixed with organic material such as leaf mold.
It is also possible to enhance wood ash by mixing around 1 pound of kelp meal with 1 pound of sugar for every 20 pounds of ashes you wish to create.
Vinegar
Vinegar works well with Hibiscus due to its high acid content. You can make a simple solution by diluting 1 cup of standard white vinegar per 1 gallon of water.
Pour the solution around the base of the plant with the intent of it being soaked up by the roots.
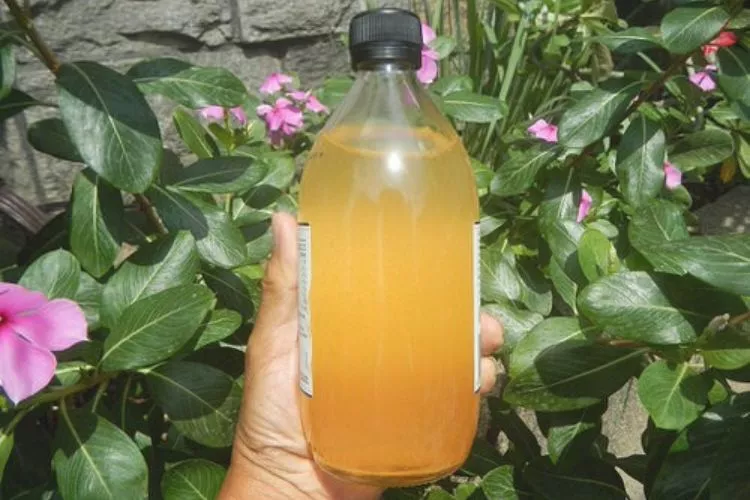
The vinegar will help make the roots more susceptible to other important nutrients and make it easier for them to soak them in. Avoid getting any vinegar on the leaves of the plant’s flowers; it will cause them to burn and slowly kill the plant.
Manure, Worm Castings, Blood and Bone Meal
These organic materials are generally pretty easy to get a hold of. Simply mix them into your compost to reap their benefits. All of the above have mountains of beneficial nutrients.
Using these products is not only great for your plant but also for the environment.
What plants benefit coffee grounds?
Coffee grounds shouldn’t just be used on any type of plant. The reason that coffee grounds are effective when microdosing with certain species is that those species would thrive best in acidic soils.
Coffee grounds work by slowly lowering the pH levels of alkaline soil. Once it reaches just under neutral (between 6.5 to 6.8 pH), it will stabilize the soil to this level. It will not continue to go lower as that is the pH of coffee grounds. Additionally, this process can take quite some time.
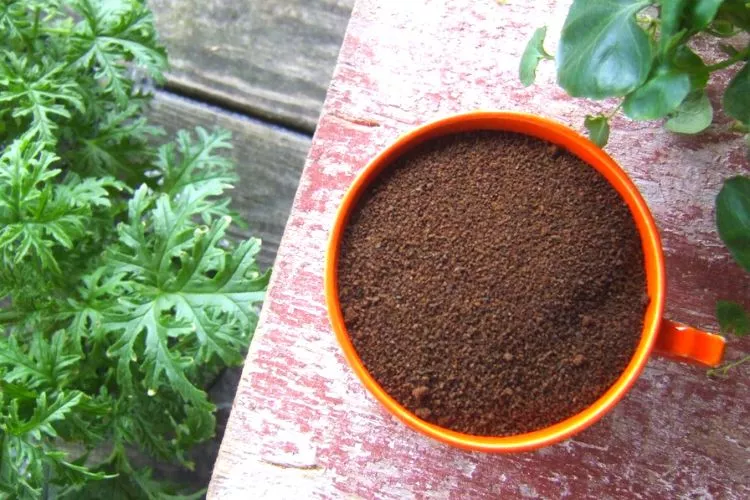
So, if you’re after a quick solution to help with soil alteration, then coffee grounds could work against you.
For example, If you have planted something that requires an acidic pH, but the soil is highly alkaline, the plant may die in the alkaline soil before the coffee grounds get the chance to lower the pH to an adequate level.
Research should be done based on certain questions before planting anything.
There are quite a few more common household plants that enjoy a slightly acidic growing medium. These include:
- African Violet.
- Azaleas.
- Blueberries.
- Cabbage.
- Camellia.
- Carrots.
- Christmas Cactus.
- Cranberries.
- Cyclamen.
- Ghost man.
- Gooseberries.
- Hollies.
- Hydrangeas.
- Jade.
- Lily of the valley.
- Maidenhair Fern.
- Norfolk Island Pine.
- Parsley.
- Peppers.
- Philodendron.
- Potatoes.
- Radishes.
- Rhododendrons.
- Roses.
- Snake Plant.
- Wild Strawberries.
These species, in particular, can benefit from that extra boost that fresh grounds can add.
How do you fertilize hibiscus with coffee grounds?
So, we’ve gone through the benefits of coffee grounds and a pretty extensive list of those plants that can take advantage of them. Now we can look at how to use them as a complementary fertilizer. We have found the best results by following these simple steps:
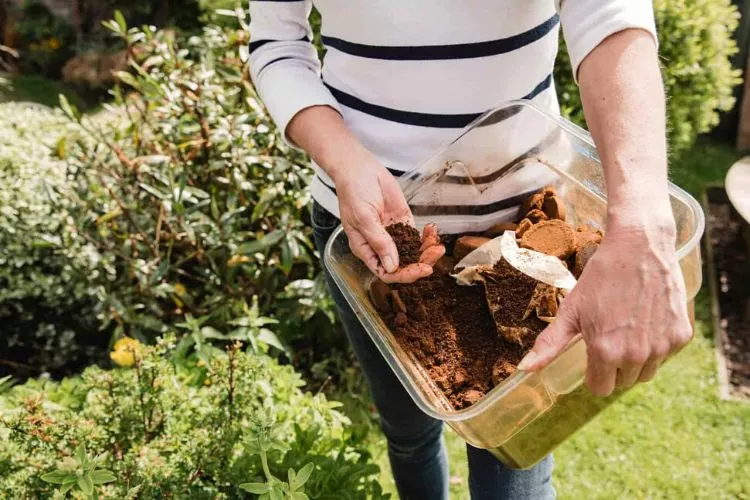
- Collect a decent amount of coffee grounds. They should be kept in an airtight container in the refrigerator. If left at room temperature, they can produce mold and become unusable. Coffee grounds can be saved for around 2 years without going bad, so don’t be scared to save them up for a decent amount of time.
- Allow the grounds to dry out for at least 2-3 days before using them.
- When it comes time to use them, simply add the grounds to your compost mix or sprinkle them around the trunk and base area of the plant’s soil and the drip line.
- Water them in without completely soaking or over watering.
*Note* If you choose to compost the coffee grounds, it’s worth noting that they should be added to the mix and then left for 6 months to completely decompose. The compost should be turned over weekly to blend in the material thoroughly.
This will reduce the risk of becoming toxic with the other compost ingredients. Additionally, adding coffee grounds directly to your hibiscus plants is ok in smaller amounts and at lower frequencies. It’s always best to test the pH of the plant’s soil a day after applying the coffee grounds to gauge how much change they have made.
Frequently Asked Questions (FAQs)
How do I increase flowering in hibiscus?
Hibiscus is a showy plant that requires adequate amounts of sun to produce all its glory. So placing or growing them somewhere that exposes them to at least 8 hours of direct sun per day will help improve their flower rate. Furthermore, using the right nutrient ratio is essential. Hibiscus prefers high potassium, medium nitrogen, and low phosphorus levels.
What month do you fertilize hibiscus?
There are generally 4 main ‘times per year that hibiscus can utilize the right fertilizer ratio. If you go down the granulated fertilizer path, it’s best to fertilize at these times: Firstly, early in the spring, then again when their first set of flowers dies.
They also should receive a dose in the middle of summer and late fall to early winter, depending on the air temperature. Water soluble solutions can be used every 2 weeks, all through the previously mentioned time frames.
How often should you add coffee grounds to plants?
Coffee grounds should be used with caution. Using too much for too long can cause ground toxicity and kill even plants requiring a slightly acidic pH. It’s generally safe to use coffee grounds for around 7-10 in a row, then giving the plant a break for 2-3 weeks before running another 71- day cycle again.
What flowers can you put coffee grounds around?
Coffee grounds have a pH of between 6.5-6.8. So any plant that thrives best with those pH requirements will enjoy being treated with the grounds as a complimentary fertilizer. Some examples include cabbage, carrots, hydrangeas, lily of the valley, and roses.
What do I do with old coffee grounds?
There are many uses for old coffee grounds, but when it comes to gardening, the best way to put them to the task is by making fertilizer. There is no work required to do except collect them and allow them to dry out. Then either add them to your compost or sprinkle them directly on to the base of your acid loving plants.
Conclusion:
Using coffee grounds as a method of fertilization helps the plant and the environment. All it takes is a bit of research into the pH of your plant and its soil requirements.
Once this is established, just save save save and enjoy the benefits. The beauty of this concept is that saved coffee grounds can last up to 2 years without going bad!
We hope this article has been helpful, and we look forward to seeing you next. As always, happy growing!


