Maintaining a lush, green lawn isn’t just about aesthetics—it’s about the health of your green space, and ultimately, the value it brings to your home. Proper lawn fertilization plays a pivotal role in ensuring that your lawn thrives, resisting pests, diseases, and the scorching heat of summer.
However, for those with expansive lawns, the cost of fertilization can quickly skyrocket, becoming a point of hesitation. Is there a way to strike a balance between achieving a vibrant lawn and not breaking the bank? Absolutely! This article delves deep into Cheapest way to fertilize large lawn, emphasizing strategies tailored for large lawns.
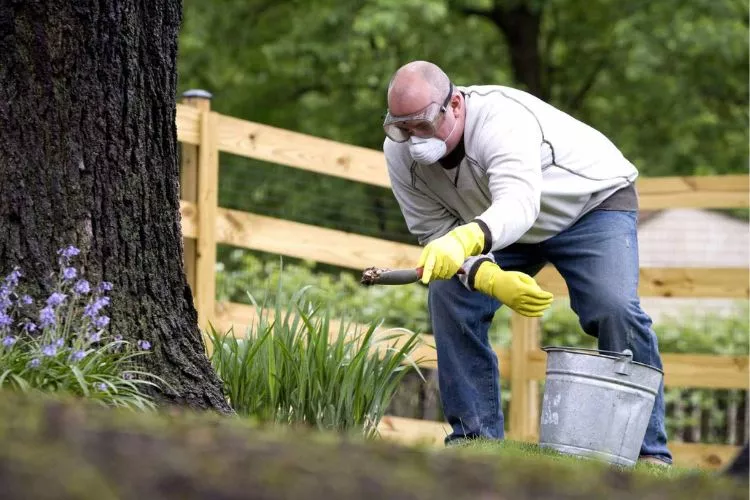
If you’ve been grappling with the financial strain of lawn upkeep, or simply want to ensure you’re getting the most bang for your buck, you’re in the right place. Let’s embark on a journey to give your lawn the nourishment it needs, without emptying your pockets.
Table of Contents
Cheapest way to fertilize large lawn
The most cost-effective method to fertilize a large lawn is to utilize compost you create from household waste (like vegetable scraps, coffee grounds) known as home composting. Another cheap method is utilizing compost teas or organic-based grain meals (like corn, soybean, or alfalfa meal).
These are usually low in nutrient content but incredibly affordable. It is also beneficial to leave grass clippings on the lawn after mowing to naturally fertilize the soil. Providing your lawn with enough water and maintaining the proper mowing height can also improve its health and reduce the need for fertilization.
1. Assessing Lawn Needs
Before you can even think about fertilizing, it’s paramount to understand the unique needs of your lawn. Much like how we wouldn’t take medicine without diagnosing the problem first, blindly fertilizing can do more harm than good. Here’s where the art and science of soil testing come into play.
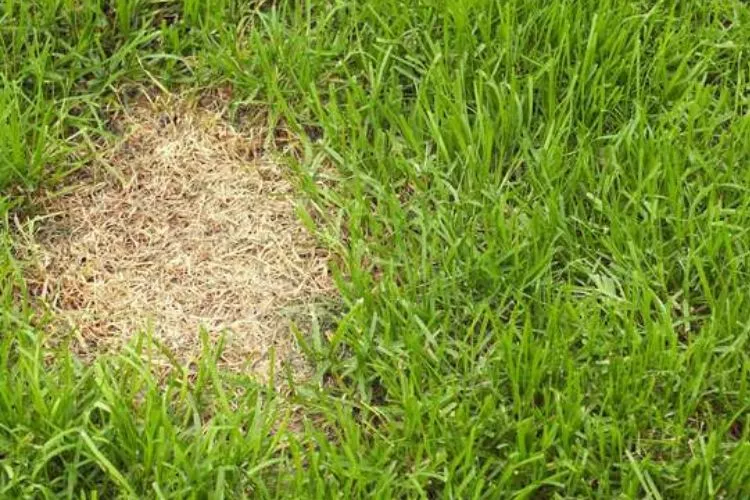
Soil testing
Soil testing isn’t just for professional landscapers or agriculture experts. It’s a simple yet crucial step for any homeowner aspiring for a thriving lawn.
Importance of soil testing
A soil test does more than just satisfy curiosity. It provides tangible insights into the health and nutrient content of your soil. By understanding its current state, you can pinpoint exactly which nutrients are lacking and which ones are abundant.
This not only prevents wastage of money on unnecessary fertilizers but also averts the potential risk of over-fertilizing, which can be detrimental to your lawn.
How to conduct a soil test
Conducting a soil test is simpler than it sounds. Start by collecting small soil samples from various parts of your lawn using a garden trowel. Combine these samples in a clean bucket and mix thoroughly. Remove about a cup (240 ml) of this mixed soil and let it dry.
Once dried, you can send it to a local agricultural extension office or use a home testing kit available at most garden centers. Results typically include pH levels and essential nutrient concentrations.
Understanding soil pH and nutrient levels
Soil pH indicates the acidity or alkalinity of your soil, with 7 being neutral. Lawns typically thrive in slightly acidic conditions, around a pH of 6 to 7.5. Too high or too low pH can hinder nutrient absorption.
The test also reveals levels of vital nutrients like nitrogen, phosphorus, and potassium. Understanding these metrics is crucial because they guide you in selecting the appropriate fertilizer, ensuring your lawn gets precisely what it needs.
Lawn size estimation
An often overlooked yet critical factor in cost-effective fertilization is understanding the actual size of your lawn. By accurately gauging the area, you can apply the correct amount of fertilizer, preventing both wastage and over-application.
Measuring the lawn area accurately
To measure your lawn, you’ll need a measuring tape, some stakes, and possibly a helper for larger areas. Start by breaking down your lawn into simple geometric shapes like rectangles, squares, or circles. Measure the length and width of each section and calculate their respective areas.
For rectangles and squares, multiply length by width. For circles, use the formula π x (radius^2). Once you have the areas of all sections, add them together for the total lawn size. Don’t forget to note down measurements in both square feet and square meters for clarity.
Why size matters in cost-effective fertilization
Knowing your lawn’s exact size isn’t just a matter of precision—it’s about maximizing your budget and lawn health. By knowing how much space you’re dealing with, you can buy the right amount of fertilizer, avoiding unnecessary spending on excess product.
More importantly, it ensures you don’t over-fertilize, which can lead to nutrient burn, or under-fertilize, which can leave your lawn lacking. In essence, size knowledge translates to monetary savings and optimal lawn nourishment.
2. Choose the Right Fertilizer
With the vast array of fertilizer options on the market, making the right choice can feel overwhelming. However, armed with knowledge, you can make informed decisions that suit both your lawn’s requirements and your budget.
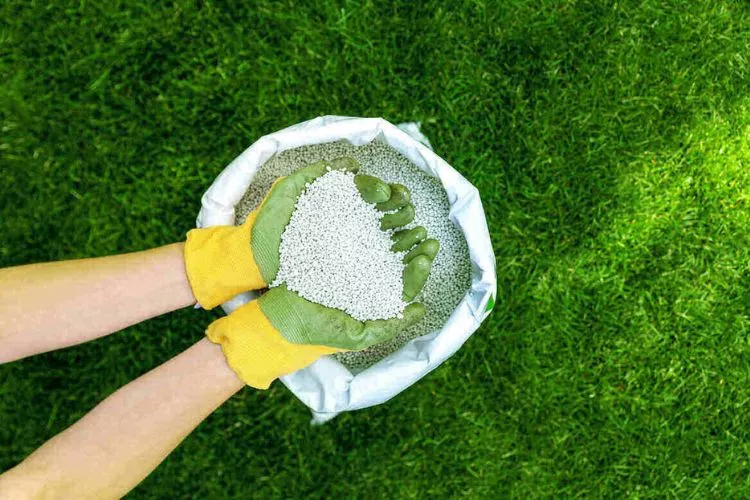
Understanding fertilizer types
All fertilizers aren’t created equal. Different types cater to various lawn needs and growth stages. At the core of this understanding lies the NPK ratio.
Nitrogen (N), Phosphorus (P), Potassium (K) – NPK ratios
When you pick up a bag of fertilizer, you’ll notice three numbers prominently displayed. These represent the NPK ratio, which stands for Nitrogen (N), Phosphorus (P), and Potassium (K). Each element plays a distinct role:
- Nitrogen (N): Promotes leafy, green growth.
- Phosphorus (P): Supports strong root development and flowering.
- Potassium (K): Aids in overall plant health, disease resistance, and drought tolerance.
Selecting a fertilizer means understanding which of these nutrients your lawn currently needs most, based on soil tests.
Organic vs. synthetic fertilizers
The fertilizer aisle offers two primary categories: organic and synthetic. Organic fertilizers derive from natural sources, like composted plants and animal manure. They release nutrients slowly and improve soil health over time. Synthetic fertilizers, on the other hand, are manufactured and offer immediate nutrient release.
While they can show quicker results, they might not enrich the soil in the long term like their organic counterparts. Both have their merits, and the choice often boils down to personal preference, immediacy of need, and budget.
Selecting the appropriate fertilizer for your lawn
Your soil test results are your guiding light here. Once you know the nutrient levels and pH of your soil, you can pick a fertilizer tailored to those needs.
Fertilizer recommendations based on soil test results
If your soil test shows low nitrogen levels but adequate phosphorus and potassium, you’d lean towards a high-nitrogen fertilizer. Conversely, if your lawn has been recently established or shows weak root growth, a higher phosphorus content may be beneficial. Remember, the aim is to complement what the soil already possesses.
Budget-friendly fertilizer options
While many associate organic fertilizers with a heftier price tag, there are cost-effective options like composted manure or homemade compost. On the synthetic side, buying in bulk or during sales can significantly reduce costs.
Moreover, opting for a granular slow-release fertilizer can also be economical as it reduces the frequency of applications, ensuring you get the most out of every purchase.
Slow-release vs. fast-release fertilizers
When selecting a fertilizer, one of the key decisions you’ll need to make is whether to go for a slow-release or fast-release variant. Each type has its own advantages and specific use cases, but understanding the difference can greatly influence the health of your lawn and your wallet.
Benefits of slow-release fertilizers
Slow-release fertilizers, as the name suggests, release nutrients gradually over an extended period. This steady nutrient supply offers several advantages:
- Consistent Growth: By providing a constant nutrient source, slow-release fertilizers promote uniform lawn growth without sudden spurts.
- Reduced Risk of Burn: The gradual release reduces the chances of nutrient burns, which can occur when too much fertilizer is applied at once.
- Efficiency: These fertilizers often require fewer applications throughout the season, saving time and resources.
Application frequency and cost-effectiveness
Fast-release fertilizers can offer a quick green-up and are often used when rapid results are needed. However, they may necessitate more frequent applications as the nutrients are released and consumed quickly. This could mean buying and applying more product throughout the season.
3. Application Techniques
While choosing the right fertilizer is half the battle, the other half lies in its correct application. Ensuring you apply the product at the right time, evenly, and without wastage can drastically influence the health and appearance of your lawn.
Proper timing for fertilization
Timing matters immensely when it comes to lawn fertilization. Applying at the optimal moment ensures maximum nutrient absorption, while poor timing can waste your efforts or even damage the turf.
Seasonal considerations
Different grass types have unique growth cycles and, hence, varied nutrient demands:
- Cool-season grasses, like Kentucky bluegrass and fescue, benefit from fertilization in early spring and again in the fall. During these periods, they’re actively growing and can utilize the added nutrients efficiently.
- Warm-season grasses, such as Bermuda or zoysia, thrive during the warmer months. Fertilizing in late spring to early summer when these grasses hit their growth stride is ideal.
Key dates for application
While it’s essential to adjust based on your local climate, a few general guidelines exist:
- Cool-season grasses: Apply once in early spring (March to April) and then again in fall (September to October).
- Warm-season grasses: Optimal fertilization occurs in late spring (May to June).
Always monitor local weather forecasts to avoid fertilizing before heavy rains, which can wash away your applied product.
Applying fertilizer evenly
An uneven application can lead to patchy growth or even lawn burn. Using the right equipment and technique is crucial.
Spreader types and usage
Two primary spreader types dominate the market:
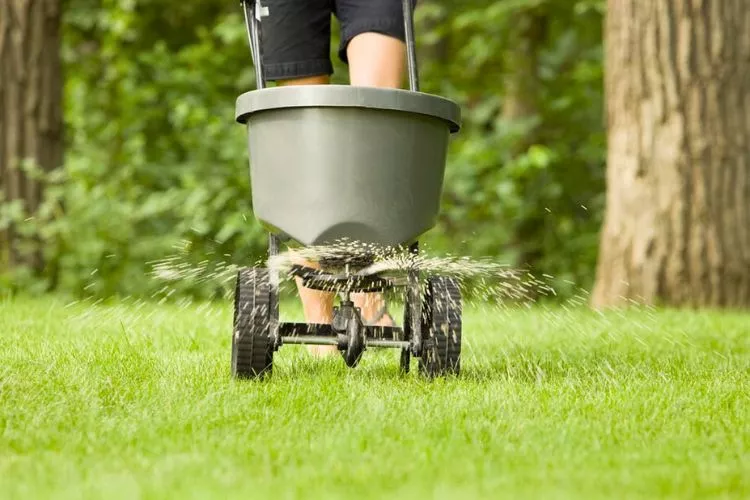
- Broadcast (or rotary) spreaders: These spreaders throw the fertilizer out in a broad pattern. Ideal for larger lawns, they cover more ground quickly but require careful operation to prevent overlaps.
- Drop spreaders: These release fertilizer directly below them. While they offer more precise application, they are better suited for smaller lawns or areas where precision is needed.
Avoiding overlaps and skips
For even coverage:
- Always start with a half-filled spreader to prevent tipping or spills.
- Begin by applying fertilizer around the lawn’s perimeter, then move in a grid pattern.
- When using a broadcast spreader, ensure the spreader is in motion before opening the flow to avoid dumping too much in one spot.
By closing the spreader’s flow when making turns or stopping and maintaining a steady pace, you’ll ensure a consistent, even application across your entire lawn.
Watering after application
The role of watering post-fertilization cannot be emphasized enough. It serves as a conduit, helping the nutrients journey from the surface to the roots where they are most needed. Moreover, proper hydration ensures that your grass utilizes the fertilizer efficiently and safely.
The importance of post-fertilization watering
Here’s why watering after fertilizing is so crucial:
- Nutrient Absorption: Watering helps dissolve the granular fertilizer, making it more accessible for grass roots to absorb.
- Safety Net: A post-fertilization soak reduces the risk of “fertilizer burn” by diluting any excess and preventing the concentration of salts near the grass blades.
- Protection for Soil Microbes: Water supports the microbial activity in the soil that assists in breaking down organic fertilizers, enhancing their efficiency.
Watering schedules for cost-effective results
While it’s vital to water after fertilizing, how and when you do it matters just as much:
- Immediate Watering: After applying a granular fertilizer, it’s best to water the lawn immediately to initiate nutrient absorption.
- Depth Matters: Aim for at least half an inch (about 1.3 cm) of water to ensure the nutrients penetrate deeply. This also promotes deeper root growth, which in turn supports a healthier lawn.
- Morning Ritual: If possible, water your lawn in the early morning. This reduces the amount of water lost to evaporation, ensuring that your grass and the soil get the maximum benefit. Moreover, watering in the morning prevents prolonged moisture on grass blades, reducing the risk of fungal diseases.
DIY vs. Professional Services
There’s a crossroad every homeowner encounters when deciding to fertilize a vast expanse of lawn: To go the DIY route or call in the pros? Both have their merits, but understanding their implications can determine which is right for your lawn and pocket.

Cost comparison between DIY and professional services
- DIY: Going the DIY route often means a lower initial outlay as you’re only purchasing the fertilizer and maybe some equipment. However, bear in mind the hidden costs: potential wastage, the possibility of buying the wrong product, or even the chance of damaging your lawn due to inexperience.
- Professional Services: Hiring professionals can seem costlier upfront. They come with their equipment, expertise, and the right product. But remember, you’re also paying for their knowledge, which can prevent expensive mishaps.
Pros and cons of each option
DIY Pros:
- Cost-effective if you know what you’re doing.
- Flexible timing; you decide when to fertilize.
- The satisfaction of personal care.
Cons:
- Potential for mistakes, leading to added expenses.
- Time-consuming if you’re not familiar with the process.
Professional Services Pros:
- Expertise ensures the job gets done right.
- Convenience; no need for you to invest time or physical effort.
- Access to commercial-grade products not always available to the public.
Cons:
- Higher upfront cost.
- Need to schedule in advance, which might not align with your timeline.
DIY cost savings
With DIY, the primary saving comes from labor costs. By putting in your time and effort, you’re trading money for some sweat equity. Furthermore, by learning the ropes and investing in long-lasting equipment, subsequent fertilizations can be even more cost-effective.
Expertise and convenience with professional services
Professionals bring years of experience to your lawn. This means they can quickly spot potential issues, choose the right product, and apply it most efficiently. The convenience factor is undeniable: no lugging bags, no figuring out spreader settings, and no fretting about weather windows.
Pro tips for effective DIY fertilization
If you’re leaning towards DIY, here are some pro-inspired tips to guide you regarding cheapest way to fertilize large lawn.
- Educate Yourself: Before you start, understand the basics of lawn care, the types of fertilizers, and the needs of your grass variety.
- Quality Over Quantity: It might be tempting to buy the cheapest fertilizer, but sometimes investing in a slightly pricier, higher-quality product can yield better results.
- Measure Twice, Apply Once: Always measure your lawn and calculate the required fertilizer amount. Over-application can be wasteful and damaging.
- Gear Up: Invest in a good spreader and ensure it’s calibrated correctly.
- Stay Consistent: Maintain a fertilization schedule. Regular, consistent care often trumps occasional, intensive efforts.
Maintaining a Healthy Lawn
For those who’ve gazed upon a lush, vibrant lawn, you’ll know it’s more than just about fertilizing. It’s a cumulative result of various practices, each contributing to the overall health and vigor of the grass.
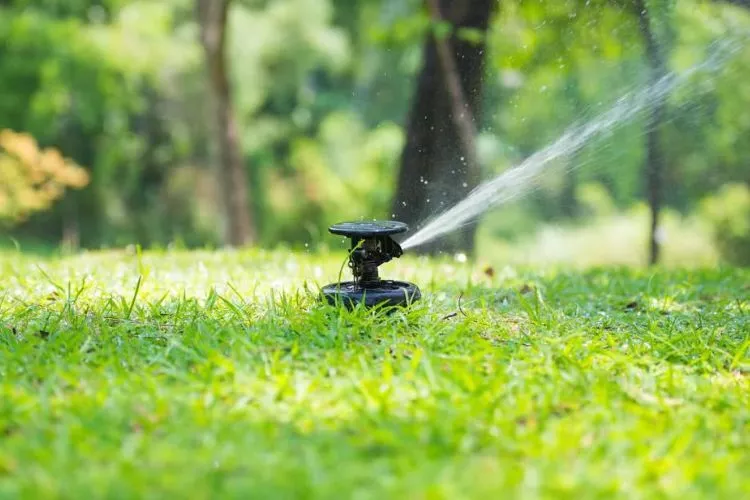
A well-maintained lawn not only looks stunning but can also resist pests, drought, and diseases far better than a neglected one. So, once you’ve fertilized, what’s next? Let’s delve into the core practices that can keep your lawn in tip-top shape.
Mowing and trimming practices
Every lawn enthusiast knows that mowing isn’t just about keeping the grass short. It’s an art, a technique, and a cornerstone for maintaining a lawn’s health. Mastering the methods of mowing and trimming can be the difference between a struggling lawn and one that’s lush, thick, and green.
How mowing height affects the lawn’s health
Believe it or not, the height at which you cut your grass plays a significant role in its overall health. Mowing too short, often referred to as “scalping”, can stress the grass, leaving it more vulnerable to pests and diseases.
In contrast, letting it grow too tall can lead to thin and weak grass that struggles to get enough sunlight. A good general guideline is the “one-third rule”: never remove more than one-third of the grass height at one time.
If your grass type thrives at 3 inches (around 7.6 cm), you should mow it when it reaches about 4.5 inches (roughly 11.4 cm).
If you have 5 Acres of Lawn: Best Riding Lawn Mower For 5 Acres | How Long Does It Take to Mow 5 Acres?
Proper blade maintenance
Your lawn mower’s blade health is paramount. A sharp blade ensures a clean and efficient cut, reducing stress on the grass and promoting better growth. Dull blades, on the other hand, can tear grass, leading to a jagged edge that browns quickly and becomes susceptible to diseases.
It’s a good practice to sharpen your mower blades at least once a season or after about 10 hours of mowing. If a blade is too worn out, consider replacing it to ensure your grass gets the clean cut it deserves.
Pest and weed control
A thriving lawn is more than just healthy grass—it’s also a lawn free from pesky invaders. Pests and weeds can be relentless adversaries, often trying to claim territory and threatening the beauty and health of your green oasis. But with the right strategies, you can fortify your lawn against these nuisances, ensuring it stays lush and vibrant.
Preventing pest infestations
An ounce of prevention is worth a pound of cure, especially when it comes to lawn pests. Keeping a close eye on your lawn can help you spot early signs of pest activity, such as irregular brown patches, thinning areas, or visible bugs on the grass blades.
Regularly aerating the lawn can prevent soil compaction, making it less inviting for pests like grubs. Beneficial insects, such as ladybugs and predatory nematodes, can also be introduced as natural predators, helping keep pest populations in check.
Another essential tip: always ensure you’re buying pest-free grass seed or sod to prevent introducing problems from the get-go.
Cost-effective weed control strategies
Weeds can be a constant battle for any lawn enthusiast. But fret not; there are cost-effective strategies to manage and reduce these unwelcome guests:
- Cultural Practices: Keep your lawn thick and healthy. A dense lawn leaves little room for weeds to establish.
- Hand Pulling: It’s labor-intensive, sure, but pulling weeds by hand, especially after a rain when the soil is soft, can be surprisingly effective for spot treatments.
- Natural Pre-emergents: Corn gluten meal, for instance, is a natural product that can prevent weed seeds from germinating when applied in early spring.
- Vinegar Solutions: A vinegar solution can be used as a natural herbicide for young weeds. However, be cautious, as it can also harm grass if over-applied.
- Mulch: For garden beds adjoining your lawn, use mulch. It not only retains moisture but also blocks sunlight, preventing weed germination.
Aeration and overseeding
Even the most meticulously maintained lawns can benefit from aeration and overseeding. These processes revitalize and thicken the turf, ensuring it remains resilient against external challenges and continues to showcase its lush beauty.
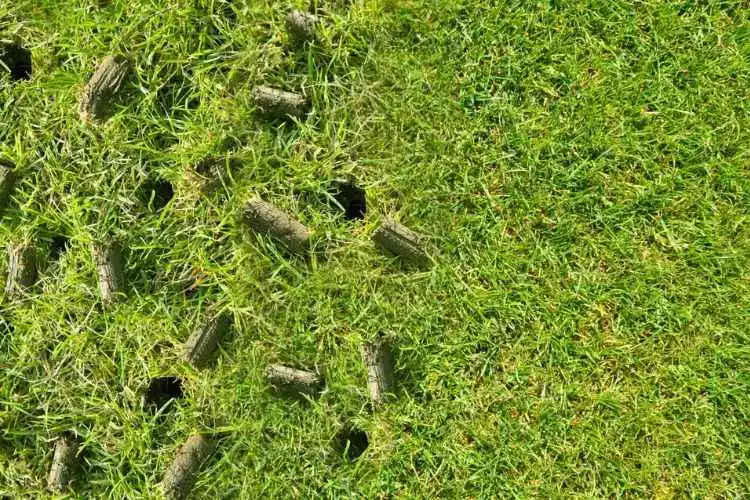
Both these techniques are essential components of a comprehensive lawn care regimen, especially for those looking to achieve that “magazine cover” look for their green space.
Benefits of lawn aeration
Lawn aeration involves perforating the soil with small holes, allowing air, water, and nutrients to penetrate down to the grass roots. This helps the roots grow deeply and produce a stronger, more vigorous lawn. The benefits are numerous:
- Improved Air Exchange: Aeration reduces soil compaction, allowing roots to breathe and grow stronger.
- Enhanced Soil Water Uptake: The perforations allow for better water absorption, reducing runoff.
- Boosted Fertilizer Uptake: With aeration, the nutrients from fertilizers can reach the roots more effectively.
- Reduced Water Puddling: By improving drainage, you reduce the chances of lawn diseases that thrive in wet conditions.
- Stress Relief for Grass: After a hot summer or heavy foot traffic, aeration can help your lawn recover and rejuvenate.
Budget-friendly overseeding techniques
Overseeding is the process of planting new grass seeds directly into the existing turf. It’s a great way to improve the density of your lawn, fill in bare spots, and enhance its color. And it doesn’t have to be expensive:
- Buy Quality, Not Quantity: Invest in high-quality seeds that are drought-resistant and suitable for your region. This ensures better germination rates and reduces the need for frequent reseeding.
- DIY Seed Spreader: Instead of buying a machine, use a manual spreader or even your hand for smaller areas. Ensure even distribution by walking in straight lines.
- Water Smartly: New seeds need moisture to germinate. Water lightly but frequently, and use a sprinkler during early morning or late evening to reduce evaporation.
- Mow with Care: Before overseeding, mow the lawn shorter than usual and collect the clippings. This ensures seeds make good contact with the soil. Once the new seeds start germinating, avoid mowing until they’ve grown to a mowable height.
Combining these techniques ensures a thick, lush lawn without straining your budget.
Tips for Saving Money on Fertilizer
When it comes to lawn care, fertilization is essential for a lush, green, and healthy turf. However, the costs can add up, especially if you own a larger lawn. The good news? There are ways to ensure your lawn gets the nutrients it needs without breaking the bank. Here’s how:
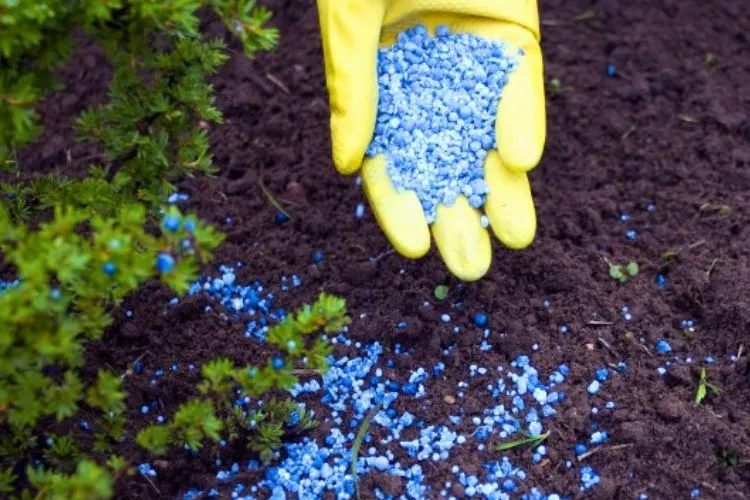
- Buying in Bulk: It’s simple economics – buying in larger quantities often gives you a better price per unit. Consider investing in a season’s worth of fertilizer or teaming up with neighbors to make a bulk purchase. Store any leftovers in a cool, dry place for the next application.
- Shopping Around for the Best Prices: Don’t just grab the first bag of fertilizer you see at your local store. Different retailers offer varied prices, and there are often sales or promotions. Check online retailers, local nurseries, and agricultural supply stores. Sometimes, buying directly from a manufacturer can also result in savings.
- Using a Fertilizer Spreader for Even Application: Uneven application can lead to wasted fertilizer and an unhealthy lawn. By using a spreader, you ensure uniform distribution, so every part of your lawn gets just the right amount. This not only reduces waste but also prevents patchy growth or fertilizer burns.
- Testing Your Soil Before Fertilizing: Blindly adding fertilizer without knowing what your lawn truly needs is like shooting in the dark. A simple soil test will tell you exactly which nutrients are lacking. This means you only buy and apply what’s necessary, saving money and preventing over-fertilization.
Frequently Asked Questions (fAQs)
How often should I fertilize a large lawn?
For large lawns, fertilize 3-4 times annually: early spring, late spring, summer, and fall.
Can I use homemade compost as a cheap fertilizer alternative?
Absolutely! Homemade compost enriches soil, providing essential nutrients, and can be a cost-effective alternative.
Are there any natural methods to improve soil fertility cost-effectively?
Yes. Crop rotation, green manures, and organic mulching can naturally and cost-effectively enhance soil fertility.
Is it necessary to use specialized lawn equipment for fertilization?
Specialized equipment like spreaders ensures even application, but manual methods can work for smaller areas.
What are the warning signs of over-fertilization on a large lawn?
Signs include grass discoloration, rapid growth, and burned patches. Soil can also become compacted, reducing water infiltration.
Conclusion
In summary, achieving a lush lawn doesn’t need to be expensive. By understanding your lawn’s unique needs, choosing the right and cheapest way to fertilize large lawn, and practicing regular maintenance, you can keep costs down and promote healthy growth.
Prioritizing soil health, selecting the appropriate fertilizer, and being mindful of application techniques are vital. Remember, responsible lawn care goes a long way.
We encourage you to apply these cost-effective tips to maintain a vibrant lawn while saving money. We hope that this guide has been helpful. You can read about similar topics here on our website. Check back again soon for more.


